
Design Beautiful Christmas Tree
It’s Christmas time of year so we are going to show you how to easily in few steps create beautiful Christmas tree to decorate your desktop.
This tutorial is very simple and straightforward, and you shouldn’t have any difficulties to create beautiful Christmas tree. All you need is to do is to start your Photoshop and we can begin.
 First of all, we need to create a new document in Photoshop with the size that match you desktop size, usually it’s 1280×1024 pixels, set color mode on RGB, and keep a resolution on 72 pixels per inch. Next thing is to use the Paint Bucket Tool to fill our background layer with black color.
 Now we are going to take the Rectangle Tool and draw a parallelogram on the entire background. Simple click on Add a layer style icon from the Layers panel and just select Gradient Overlay.
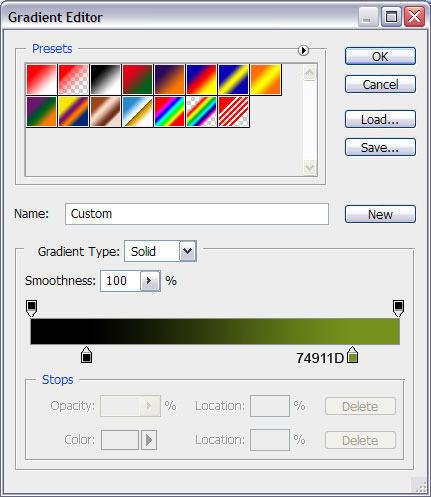
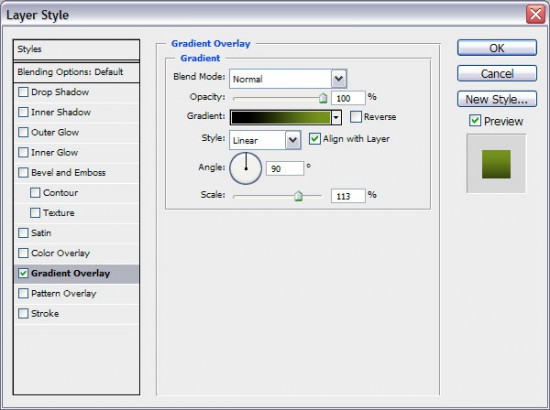 When you are in the color bar you’ll need to open the Gradient Editor and set the color as shown on our example, or if you want another one give it a go, but for the first time we suggest that you stick with our choice. When you choose color go to OK button, and close dialog.
 Next thing is to duplicate our layer and change the Opacity to zero percent for copy.
 Once again from Layer Style simple use our modification settings.
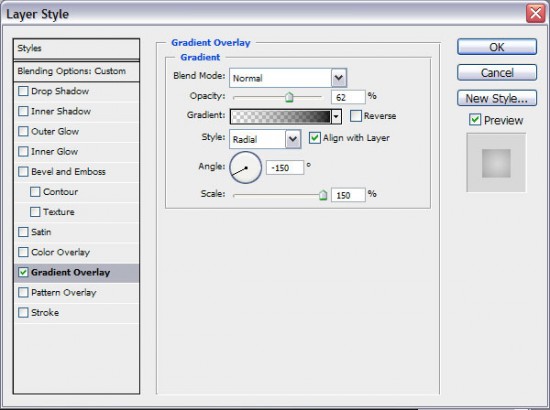 Again we are picking the color, and once we set the right one, as shown on our example, click OK to exit dialog on the screen.
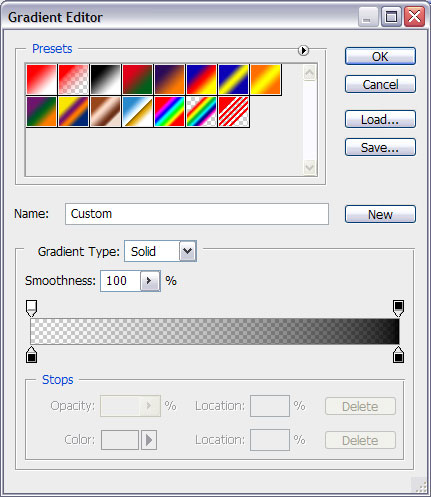 The result should look like this:
With the Ellipse Tool we are going to draw the next ellipse.
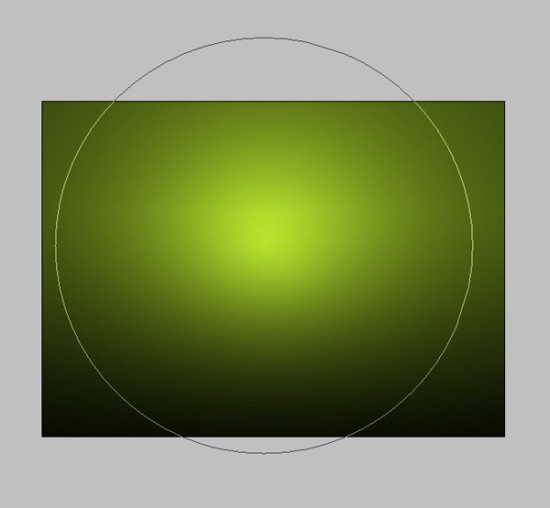 Simple, once again select Gradient Overlay.
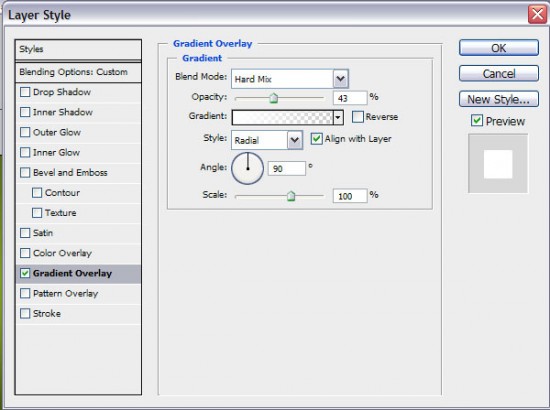 Once more we are choosing the right color for our wallpaper.
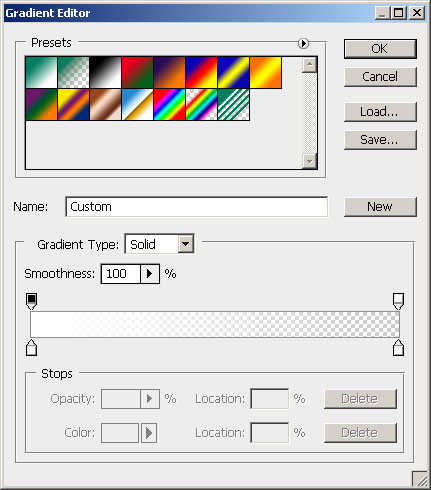 If you are done everything right the result must look like this:
 With Pen Tool we are going to create the contours of a tree, you should do something like we did in our example:
 From Custom Shape Tool in the Tools bar we need to pick a right shape. It’s very easy to pick the right one, so we don’t need to explain much.
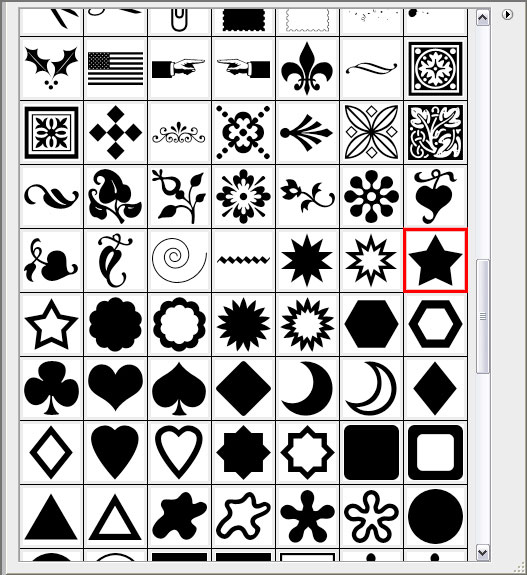 Fill the whole space inside of our tree with chosen shape. You can also change their sizes using Free Transform.
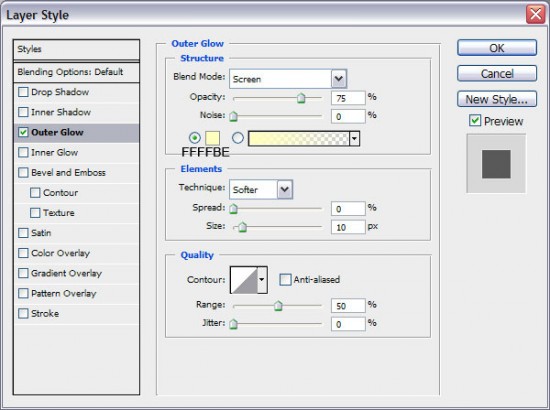
 As every Christmas tree we need to have one star on the trees top, so you’ll need to click on Add a layer style and select Outer Glow.
 We are right in the middle of the road:
 From Custom Shape Tool we are going to select three types of snowflakes.
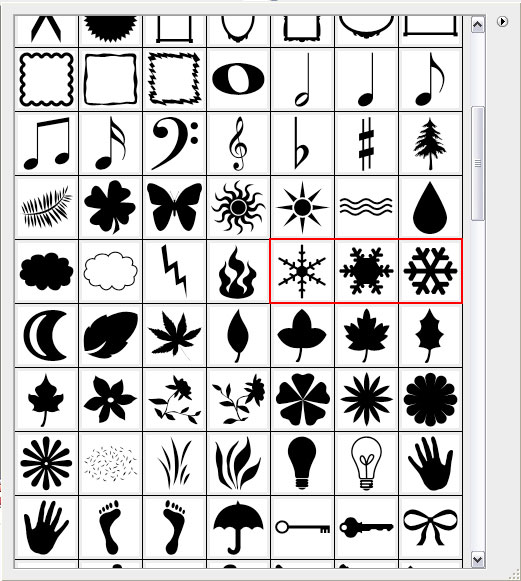 Put the snowflakes wherever you like across the background, and you can change their opacity if you like.
 Once again we reach for the Custom Shape Tool. Just find the shape like in our picture and you are good to go.
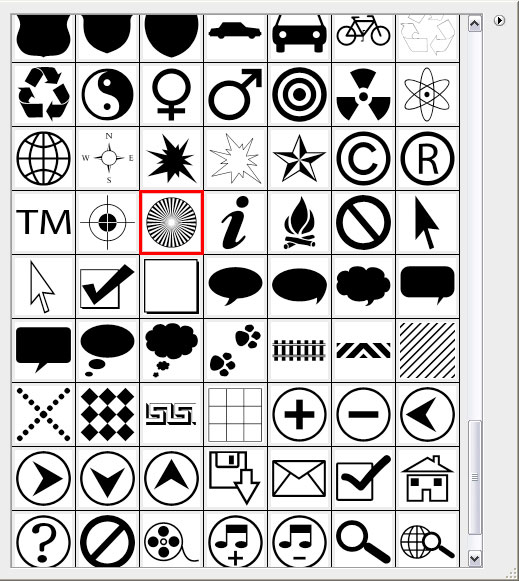 Sketch and position this form beneath the layer with the top star, the identical way situated underneath with the filling matching zero percent:
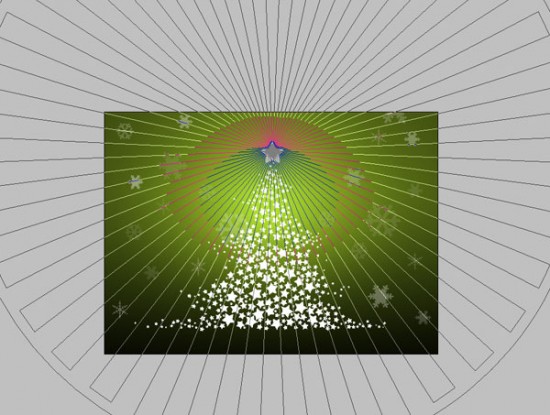
Jet again we are going with Gradient Overlay from layer panel.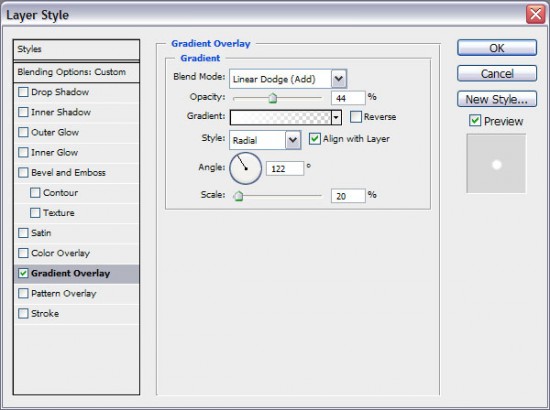
We are just few steps till out beautiful Christmas tree is finish. From the Gradient Editor we need to set the color as shown on our example.
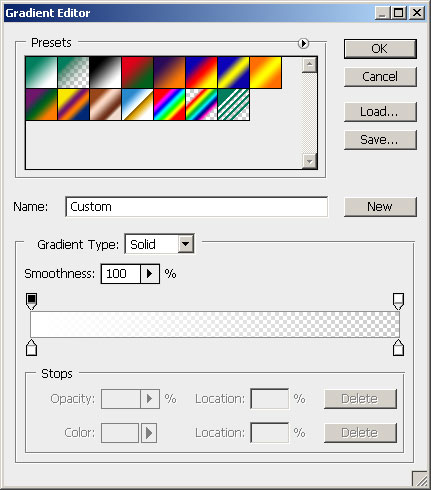 The result should look like this:
 With the Pen Tool we need to set the drawing mode and sketch the subsequently form as shown on the tree, choosing these colors:
 So, if you are pay attention in the class the result needs to look like this:


 My name is Garlak Theodorakis, I am graphic designer with almost 10 year experience in the field. Founded Tooft.com in january 2010 with idea to share my knowledge with the world.


