Tutorial: Create Easter Themed Wallpaper
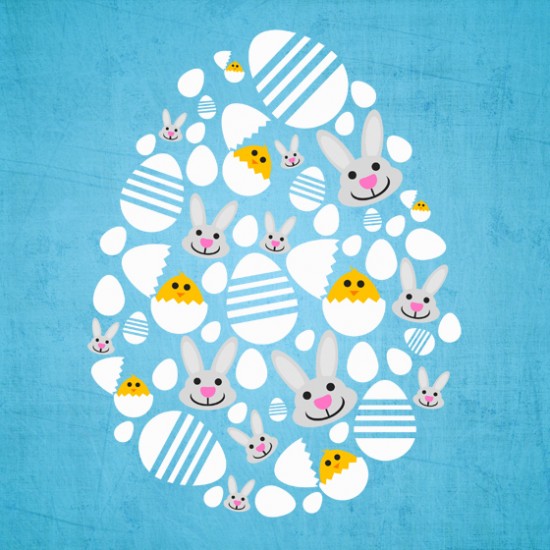
In this tutorial we are going to show you how to create fun Easter themed wallpaper, with a lot of Easter Eggs, bunnies and hatching birds. Our primary software today is Adobe Illustrator, but we’ll also use Adobe Photoshop for some finishing touches.
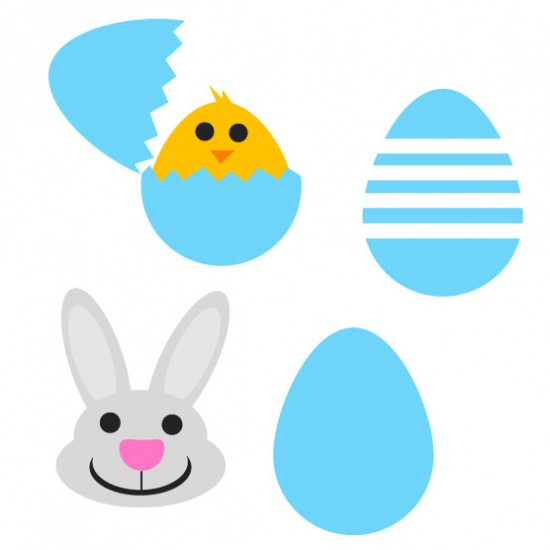
Fist let’s have a look on what we are going to create:
First Step (Illustrator)
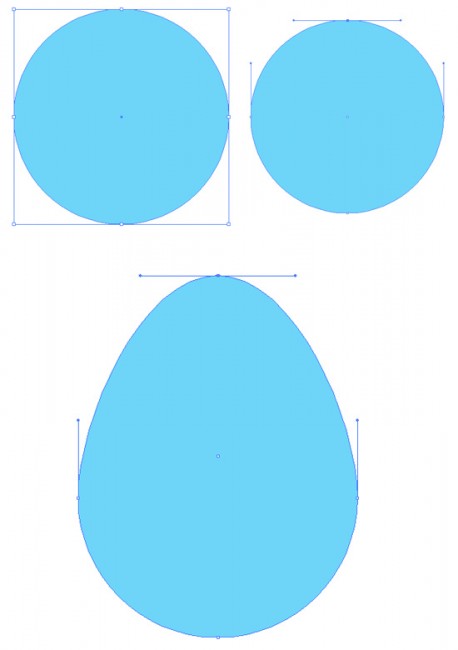
Let’s create a new document with 600×600 dimensions, and then select the Ellipse Tool and we are going to draw a circle, but be sure to hold down the Shift key, because we will need a perfect shape. Color we are using is #6ED5F9.
Then with the Direct Selection Tool we are going to select the circle and click on the Top Anchor Point.
Now click on the shape and hold down the Alt to duplicate it. Do this action two or three times.
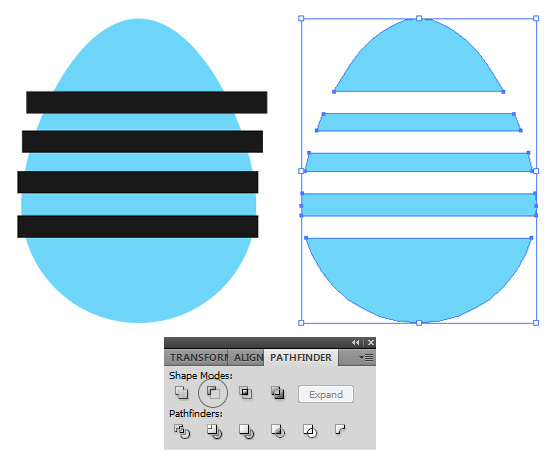
Use the Selection Tool to select 2 of the eggs and drag away. Then for remaining egg select the Rectangle Tool and make thin line shape, and after that duplicate the shape three more times. Select all the shapes that we create and the egg, and on the Pathfinder click Minus Front icon.
Second Step (Illustrator)
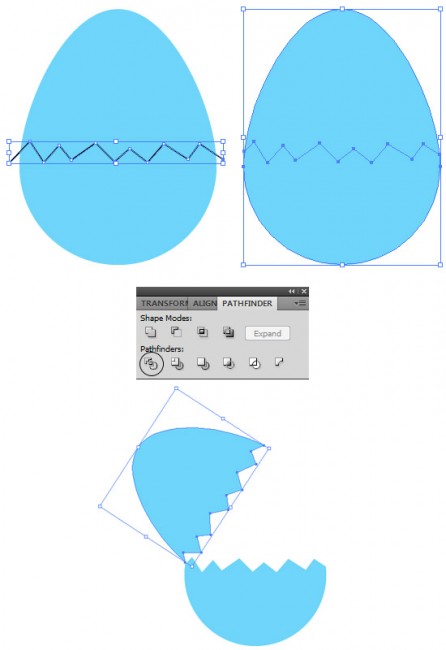
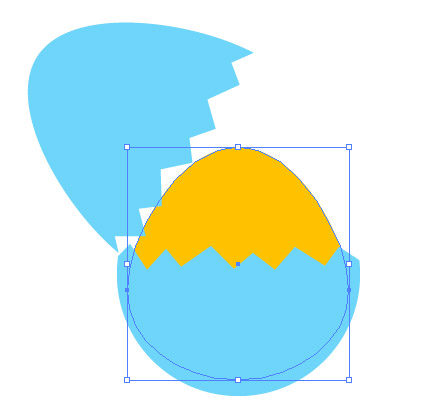
Now we are going to drag back second egg shape back, and with the Pen Tool draw a zigzag line. Next thing is to select the egg and zigzag line, and click on the Divide in Pathfinder. After that go to Object – Ungroup and separate the new made shape into two.
Use top part, drag it away and rotate.
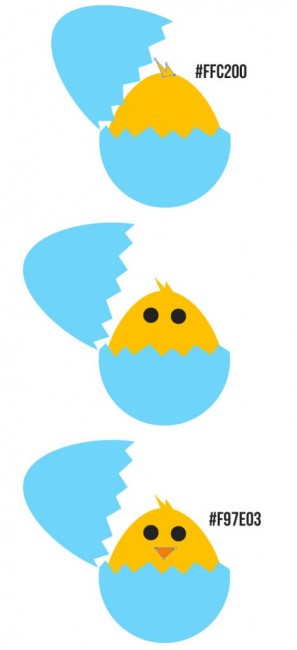
Leftover shape need to be duplicated and placed on the bottom part of the egg, and with Arrange – Send to back just put shape behind it. Color we are going to use is #FFC200. With the Selection Tool make a little bit smaller top.
With a Pen Tool draw two strokes of hair on our little bird, and with the Ellipse Tool draw eyes. You can also add a beak.
Third Step (Illustrator)
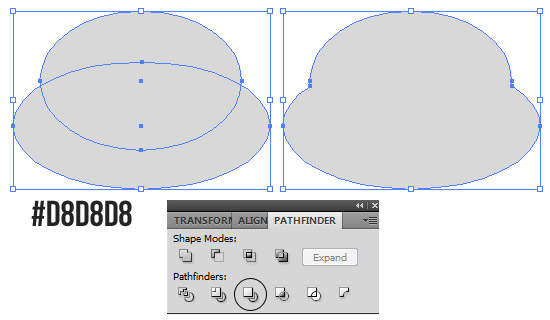
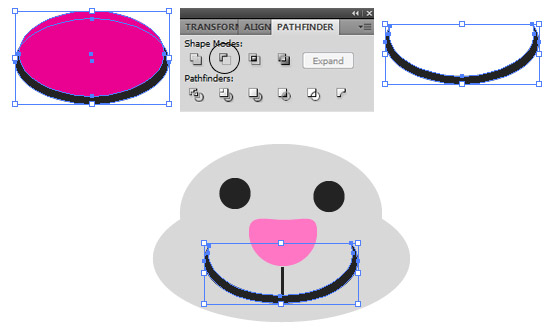
Again we are going to use the Ellipse Tool to draw to shapes like on the picture below. Merge it.
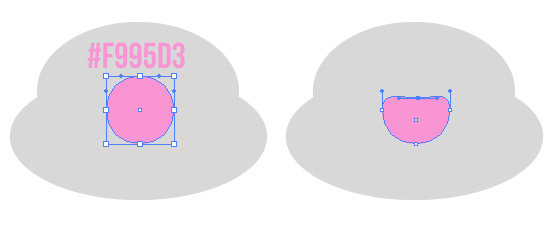
Now let’s draw a circle, and then drag a top anchor of it to make a shape that looks like a nose.
Next thing we will add is the eyes, and with the Line Tool draw a vertical line for a first mouth selection.
Make two shapes similar like those below with the ellipse tool, and with a Pathfinder create shape that looks like a smiley mouth.
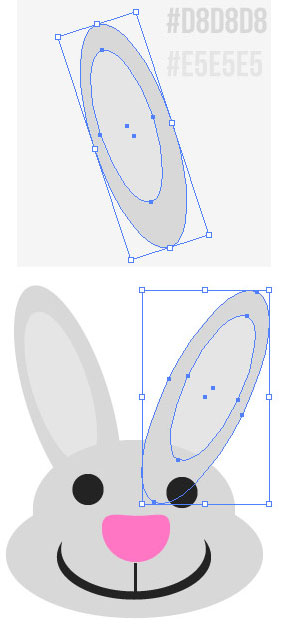
Play with the Ellipse Tool to make perfect rabbit ears, rotate it, and place it on bunny.
Now we have all the Easter shapes for our wallpaper.
Fourth Step (Illustrator)
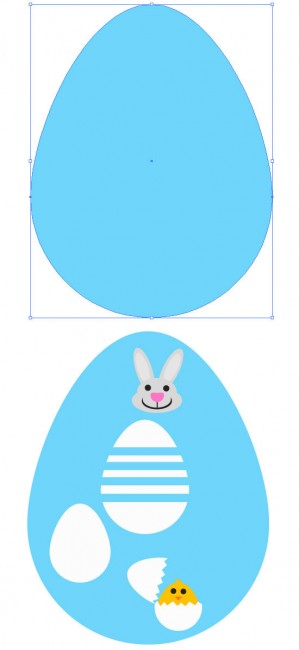
For a background we going to enlarge plain Easter egg shape, and then with a right click go to Arrange – Send to Back. Next thing is to drag all our Easter shapes to the canvas while holding the Shift Key. Click on all blue shapes and fill it with white color.
It’s time to play with duplicate option in Illustrator to make as many shapes as we like. Do this action for all the shapes.
Fifth Step (Photoshop)
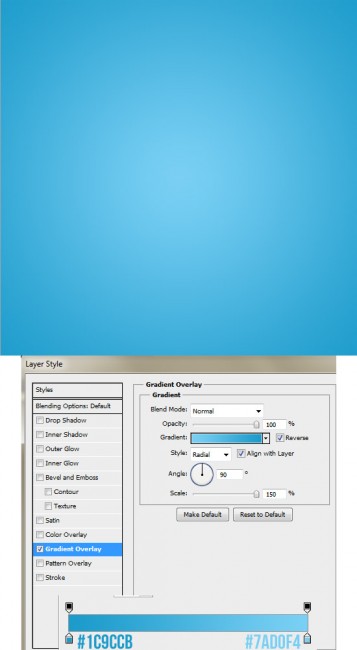
Similar to the first step in Illustrator we are going to create a new document with a 600×600 pixels dimension. Pick a white background. Then unlock background layer, go to Blending Options – Gradient Overlay and put a gradient scale to #1C9CCB to #7AD0F4.
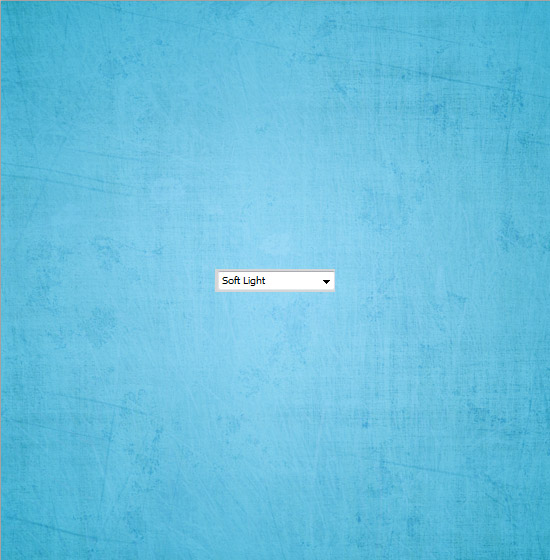
Make grunge texture on canvas and set the Blending Mode to Soft Light.
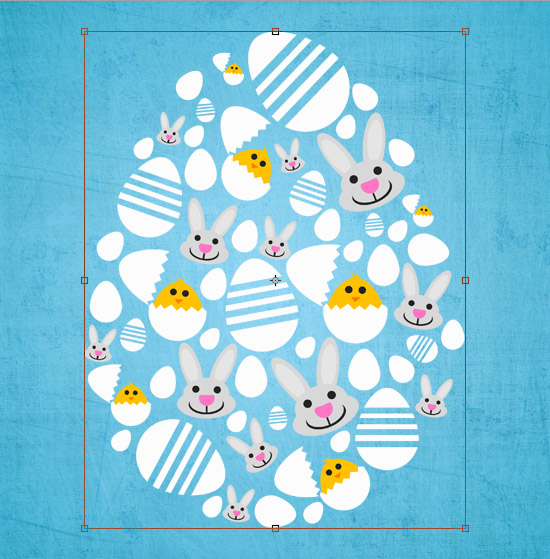
Use previously work from Illustrator and copy/paste it on our Photoshop canvas. You can shrink it down if you like.
So, this is how we make this lovely Easter wallpaper.





 My name is Garlak Theodorakis, I am graphic designer with almost 10 year experience in the field. Founded Tooft.com in january 2010 with idea to share my knowledge with the world.





Can’t believe I only found out about this post now and not earlier before Easter. Oh well, guess it’ll just have to wait ’till next year. Anyway, thanks for sharing!